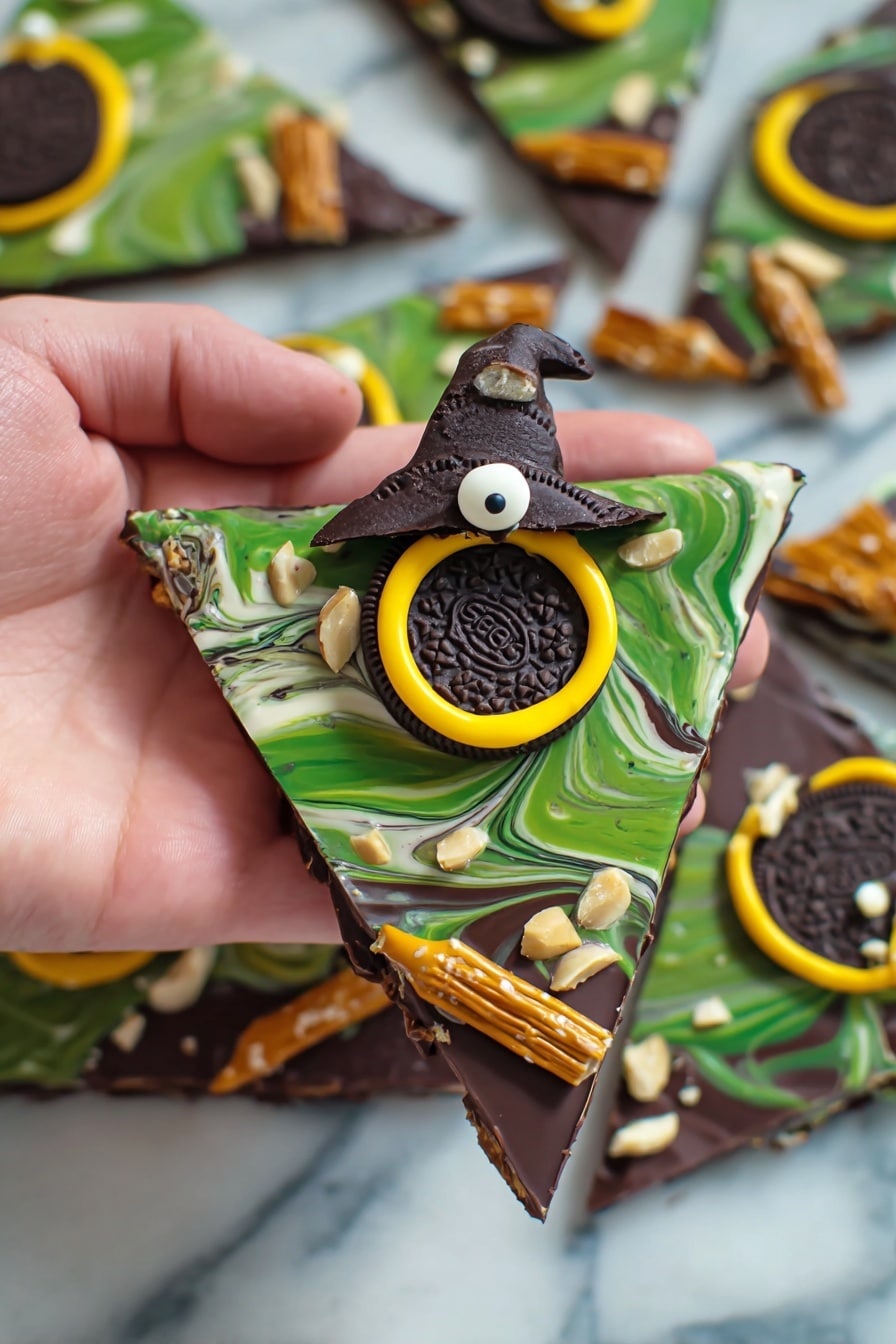
Melted Witch Halloween Bark Recipe
If you’re on the hunt for a spooky, sweet treat that’s as fun to make as it is to eat, you’re in the right place. This Melted Witch Halloween Bark Recipe is one of my absolute favorites every Halloween season! It combines crunchy, melty, and super cute witch hats and brooms on a swirl of chocolate bark that everyone raves about. Stick with me and I’ll walk you through everything you need to know so your Halloween party (or cozy night in) turns out absolutely magical.
Why This Recipe Works
- Creatively Layered Textures: The crunchy cookie hats and almond broom bristles on smooth, melted chocolate bark make every bite a delight.
- Easy Handmade Decorations: No fancy molds needed — just basic ingredients that come together with simple dipping and swirling techniques.
- Flexible & Customizable: You can swap candy melts or toppings easily to fit your preferences or what you have on hand.
- Fun for All Skill Levels: Whether it’s your first time with candy melts or you’re a seasoned chocolate maker, the step-by-step approach ensures sweet success.

Ingredients & Why They Work
The beauty of this Melted Witch Halloween Bark Recipe is how the ingredients complement each other visually and texturally to create a festive masterpiece. Each part adds a special touch, and the shopping is straightforward — just a few Halloween-themed essentials plus staples you likely have around.
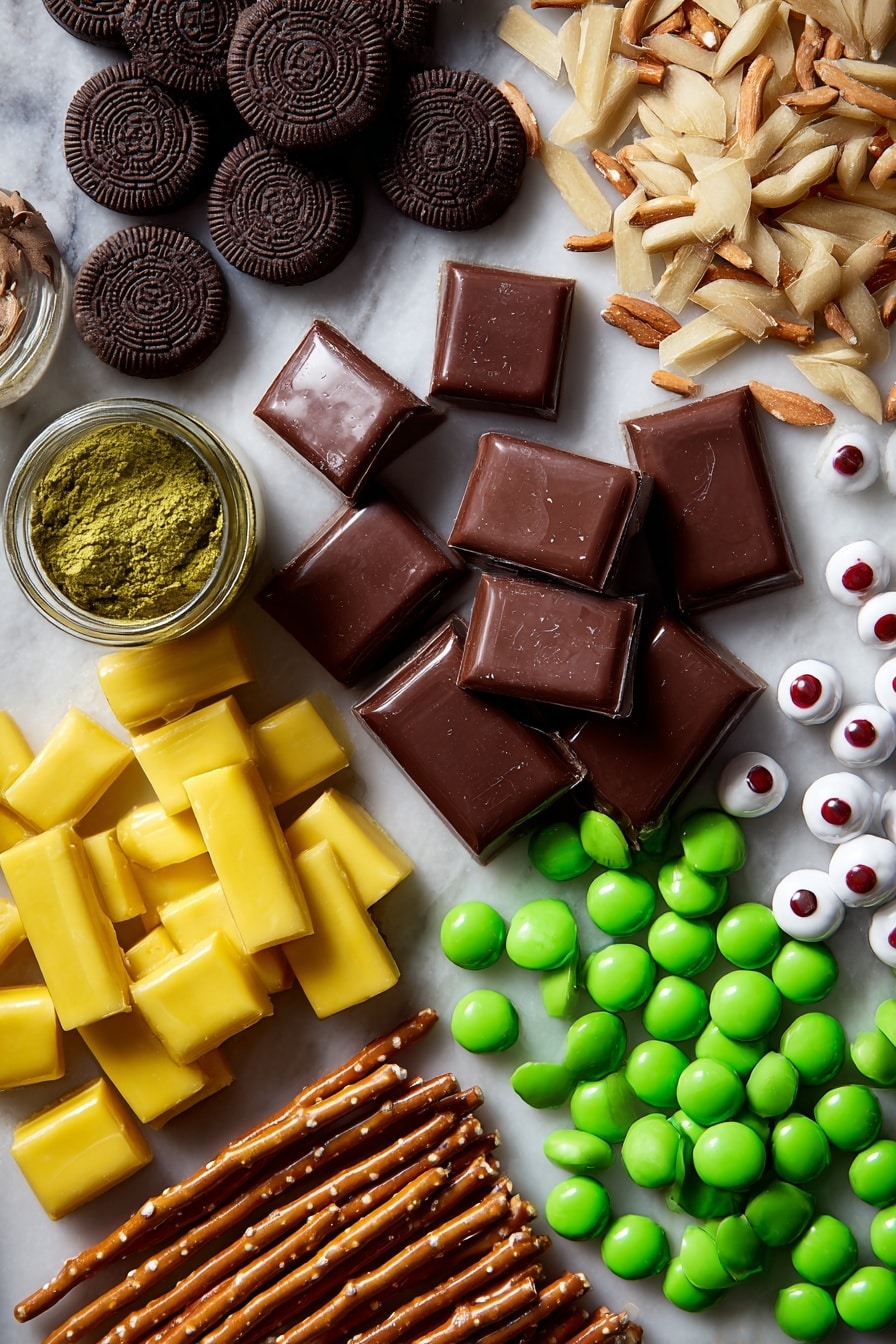
- Milk chocolate candy melts: These melt smoothly and help everything stick together effortlessly, plus they create that glossy finish.
- Chocolate cookies: Girl Guide or Oreos work great here — sturdy enough to hold the “witch hat” shape and flavorful with that chocolate crunch.
- Bugles: Their cone shape is perfect for the witch hat points and picks up chocolate like a champ.
- Fondant (yellow): For that charming finish around the hat’s brim; soft, colorful, and easy to mold.
- Semi-sweet dark chocolate: The sharp contrast of darker chocolate gives a little depth and design swirls on the bark.
- Milk chocolate (melting chocolate or chips): The base for the bark, creamy and sweet – you can’t go wrong here.
- Almond slivers: The broom bristles! They add crunch and a rustic look that’s so charming.
- Pretzel sticks: The broom handles — salty, crunchy, and perfect for dipping.
- Green candy melts: To bring in that eerie Halloween color pop with puddles and swirls.
- White or red candy eyeballs: They ups the “spooky” factor and make the bark absolutely adorable and festive.
Tweak to Your Taste
One of my favorite things about this Melted Witch Halloween Bark Recipe is how easy it is to customize. I’ve made it with different chocolates and toppings depending on what was in my pantry or who I’m making it for. Feel free to play around — that’s half the fun, really!
- Use white chocolate candy melts: I tried swapping the milk chocolate base for white chocolate once, and it gave the bark a ghostly glow that was stunning — plus the colors pop beautifully on white.
- Add festive sprinkles: Sometimes I sprinkle orange and black sugar bits on top before it hardens for an extra Halloween zing and crunch.
- Nut-free version: Leave out almond slivers and replace with shredded coconut or cereal sticks for broom bristles — works well for allergy-friendly treats.
- Spicy twist: A tiny sprinkle of cinnamon or chili powder in the melted chocolate adds a subtle surprise to the flavor.
Step-by-Step: How I Make Melted Witch Halloween Bark Recipe
Step 1: Craft Those Witch Hats with Care
Start by melting your milk chocolate candy melts gently in the microwave at half power, stirring every 30 seconds so they don’t burn — this part’s key for smooth chocolate that’s shiny and easy to work with. Dip each bugle carefully into the melted chocolate, and don’t rush shaking off the excess; you want just enough to coat the bugle so it sticks to your cookie perfectly. Press these “hat points” atop your cookies right away and let them rest to harden fully — patience here means hats that stay put and look sharp! Then roll a small fondant snake and press it around the cookie rim for that extra witchy detail. Trim to fit for the neatest finish.
Step 2: Whip Up the Perfect Witch Brooms
If your milk chocolate candy melts cooled down, pop them back in and melt again just as gently. Dip one end of each pretzel stick into the warm chocolate and line them on parchment paper. Add about four almond slivers bundled at the end and gently spoon more melted chocolate on top to “glue” those bristles in place. Let everything harden thoroughly — this step really makes the shape hold so your brooms don’t fall apart when decorating the bark. Once solid, trim edges with a sharp knife to tidy up the look.
Step 3: Swirl, Layer and Decorate the Chocolate Bark
Line a baking sheet with parchment paper before melting your milk chocolate chips or melting chocolate at half power, stirring every 30 seconds until smooth. Pour it onto the sheet — this is your bark’s base. Melt semi-sweet chocolate the same way and spoon it over the bark, swirling gently with a knife for that marbled effect. Now melt your green candy melts to add spooky puddles throughout, swirling only the edges slightly to keep that Halloween vibe. Place your cookies and brooms carefully, spacing them evenly so they don’t crowd each other. Finally, dot candy eyeballs across the bark for that creepy, cute factor everyone loves. Give the sheet a gentle tap on your counter a few times to pop air bubbles, then let it set at room temperature for 1 to 2 hours.
Pro Tips for Making Melted Witch Halloween Bark Recipe
- Go Low and Slow: Melting chocolate at half power prevents scorching and keeps it silky smooth.
- Use Good Quality Candy Melts: I learned that cheaper melts can look dull; investing in a better brand makes your bark glossy and professional-looking.
- Don’t Skip the Air Bubble Tap: Tapping the pan gets rid of bubbles that ruin the bark’s smooth surface—helps with neat cuts later!
- Fondant Brim Precision: Trimming the fondant carefully really shows in presentation — take your time shaping it snugly around the hats.
How to Serve Melted Witch Halloween Bark Recipe
Garnishes
I love adding a few extra candy eyeballs or edible glitter around the edges just before serving — it adds sparkle and draws attention to all those cute details. Plus, a sprinkle of crushed peppermint or orange zest can add an unexpected burst of flavor if you want to get fancy!
Side Dishes
This bark pairs beautifully with warm autumn drinks like spiced apple cider or hot chocolate. If you’re setting up a Halloween party spread, some caramel popcorn or spice-roasted nuts alongside it emphasize those cozy, seasonal vibes perfectly.
Creative Ways to Present
I’ve had fun arranging the bark pieces on a black platter with faux spider webs and mini pumpkins—such a festive look! Wrapping smaller bark slices in clear cello bags tied with orange or purple ribbon also makes adorable party favors.
Make Ahead and Storage
Storing Leftovers
I keep leftover bark in an airtight container at room temperature when possible, but for longer storage, the fridge works fine — it keeps the chocolate firm and stops any moisture buildup. Just make sure it’s well wrapped so the bark doesn’t absorb fridge odors!
Freezing
Freezing this bark is totally doable! Wrap it tightly in plastic wrap and place it in a freezer-safe container. When thawing, move to the fridge first to avoid condensation messing with the texture. I tried it once before a big party, and it held up wonderfully.
Reheating
Since this bark is best eaten cold or at room temp, reheating isn’t really necessary. But if your chocolate softens too much, a brief chill in the fridge brings back that satisfying snap and texture.
FAQs
-
Can I use regular chocolate bars instead of candy melts for this recipe?
Yes, you can! Just chop the chocolate bars into small pieces so they melt evenly. Candy melts are often easier for beginners because they hold their shape better after melting, but regular chocolate works great too—just be sure to temper or melt gently to avoid seizing.
-
What if I can’t find candy eyeballs?
No worries! You can substitute with mini chocolate chips, colored sprinkles, or even pipe tiny dots of white and dark chocolate for eyes. Or skip them altogether and focus on the hats and brooms—the bark is still stunning.
-
How long will the Melted Witch Halloween Bark stay fresh?
Stored in an airtight container at room temperature, the bark will stay fresh for about 1-2 weeks. Keep it away from humidity and heat to prevent melting or waxy texture changes.
-
Can kids help make this bark?
Absolutely! Kids love dipping bugles and pretzels or placing candy decorations. Just supervise closely during the melting steps, since chocolate can get hot. It’s a fun bonding activity that gets everyone excited for Halloween!
Final Thoughts
Making the Melted Witch Halloween Bark Recipe has become one of my favorite Halloween traditions—it’s simple but always wows a crowd with its fun shapes and textures. Plus, it sparks so much joy watching friends and family oooh and ahhh when I pull the bark out of the fridge. Give it a try this season, and I promise you’ll end up with a festive treat you’ll want to make over and over. Trust me, you’re going to enjoy every magical bite!
Print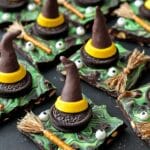
Melted Witch Halloween Bark Recipe
- Prep Time: 30 minutes
- Cook Time: 2 hours
- Total Time: 2 hours 30 minutes
- Yield: 12 servings
- Category: Dessert
- Method: No-Cook
- Cuisine: American
Description
Melted Witch Halloween Bark is a festive and fun treat perfect for Halloween celebrations. This recipe features chocolate witch hats made from cookies and bugles, adorable witch brooms constructed with pretzel sticks and almond slivers, and a colorful chocolate bark base swirled with green candy melts, semi sweet, and milk chocolate. Decorated with candy eyeballs, this easy-to-make dessert is both spooky and delicious, ideal for parties or as a charming gift.
Ingredients
Witch Hats
- 170 g milk chocolate candy melts (½ 340 g package)
- 12 chocolate cookies (such as Girl Guide or Oreos)
- 12 bugles
- Yellow fondant (for decoration)
Witch Brooms
- 4 oz semi sweet dark chocolate
- 2 lbs milk chocolate melting chocolate or milk chocolate chips
- 48 almond slivers (approximately 4 per broom)
- 12 pretzel sticks
Chocolate Bark
- 170 g green candy melts (½ 340 g package)
- 18 white or small red candy eyeballs (approximately)
Instructions
- Prepare Witch Hats: Melt the milk chocolate candy melts at half power in the microwave in 30 second intervals, stirring each time until smooth. Dip each bugle into the melted chocolate, tapping off excess chocolate gently. Place the bugles immediately onto the chocolate cookies to form the witch hats. Allow to harden completely. Then roll yellow fondant into a thin snake shape and wrap it around the rim of each cookie hat, trimming to fit.
- Make Witch Brooms: Reheat any remaining milk chocolate candy melts if necessary to keep melted. Dip one end of each pretzel stick into the melted milk chocolate and lay them on parchment paper. Attach approximately 4 almond slivers to each pretzel end to resemble broom bristles. Spoon a small amount of melted chocolate over the almond slivers to secure them in place. Let harden fully. Once set, carefully trim the edges of the brooms with a paring knife for neatness.
- Create Chocolate Bark Base: Line a baking sheet with parchment paper. Melt the milk chocolate melting chocolate (or chips) at half power in the microwave in 30 second intervals, stirring often until smooth. Pour the melted milk chocolate onto the prepared baking sheet and spread evenly. Melt the semi sweet chocolate the same way and drop spoonfuls onto the milk chocolate, swirling with a knife to create a marbled effect.
- Decorate with Candy Melts and Candy: Melt the green candy melts at half power in 30 second intervals until smooth. Drop spoonfuls of green candy melt puddles onto the chocolate bark and swirl lightly at some edges with a knife for a desired effect. Evenly place the prepared cookie witch hats and witch brooms over the bark. Scatter the candy eyeballs evenly throughout the bark.
- Set and Finish: Firmly bang the bottom of the cookie sheet 3-4 times on the counter to release any air bubbles trapped in the bark. Set the bark aside at room temperature to harden for 1-2 hours. Once fully hardened, cut into pieces and serve.
Notes
- Use high-quality candy melts for better flavor and smooth melting.
- Fondant can be colored with food coloring if yellow fondant is not available.
- To speed up hardening, place the bark in the refrigerator for about 30 minutes.
- Be gentle when trimming the brooms to avoid breaking the almond slivers.
- Store the finished bark in an airtight container in a cool, dry place to maintain freshness.
Nutrition
- Serving Size: 1 piece (approximate)
- Calories: 250 kcal
- Sugar: 20 g
- Sodium: 90 mg
- Fat: 16 g
- Saturated Fat: 9 g
- Unsaturated Fat: 6 g
- Trans Fat: 0 g
- Carbohydrates: 24 g
- Fiber: 1 g
- Protein: 3 g
- Cholesterol: 10 mg


