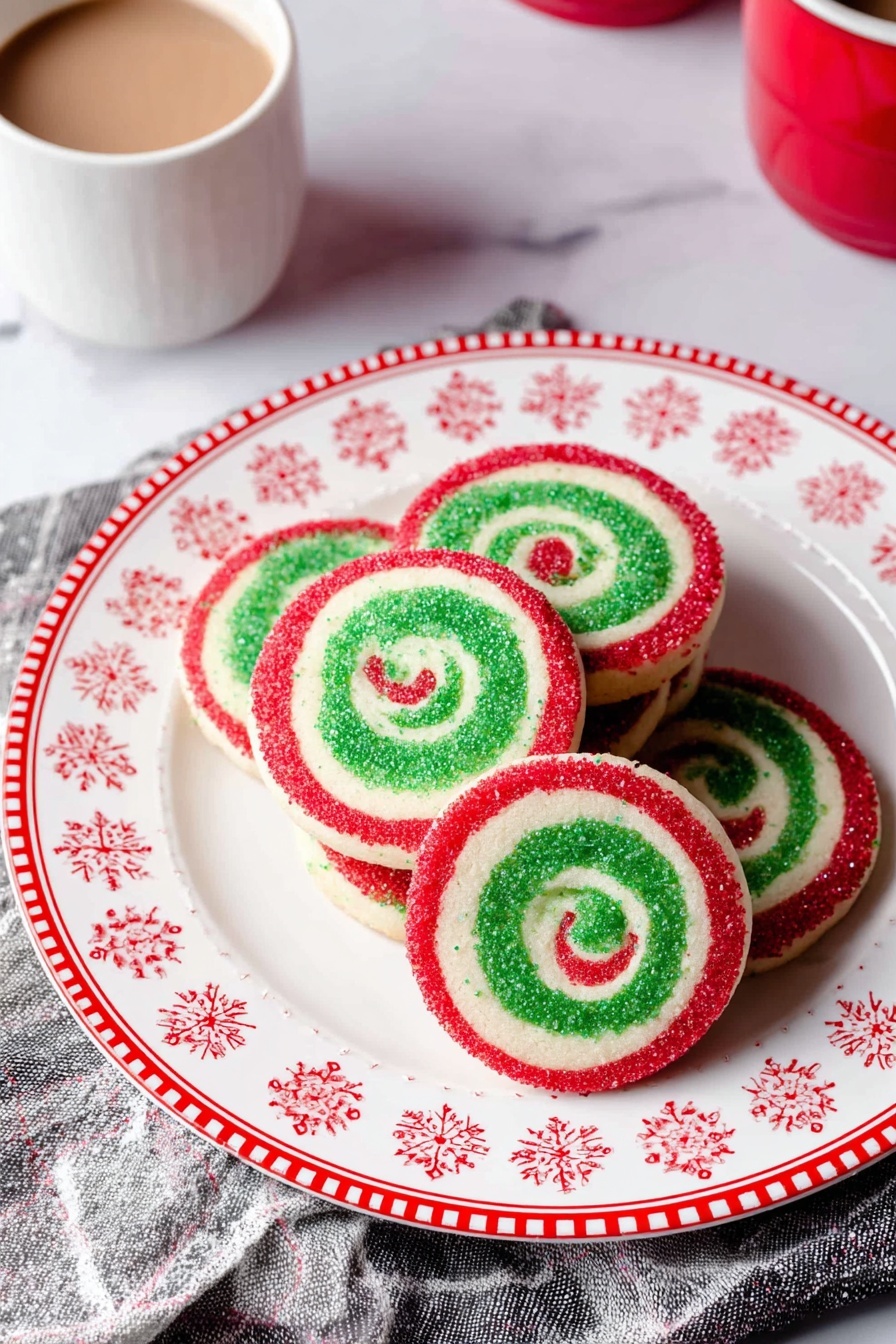
Festive Pinwheel Cookies Recipe
If you’re on the hunt for a show-stopping, fun, and absolutely delicious holiday cookie, let me introduce you to my all-time favorite: the Festive Pinwheel Cookies Recipe. These beauties swirl with holiday colors and flavors, offering a burst of joy in every bite. They’re not just eye candy; they’re buttery, tender, and perfect for gift-giving or cozy cookie swaps. Stick with me, and I’ll walk you through how to make these gorgeous treats turn out perfect every single time!
Why This Recipe Works
- Balanced Sweetness: The combination of granulated and powdered sugar creates the ideal melt-in-your-mouth texture.
- Perfect Dough Consistency: Chilling the dough discs helps with rolling out thin layers and tight swirling.
- Vibrant Swirls: Using gel food coloring ensures bright, vivid pinwheels without altering dough texture.
- Fun & Festive Presentation: Rolling the dough in holiday-colored nonpareils adds sparkle and crunch that’s totally irresistible.

Ingredients & Why They Work
Each ingredient in this Festive Pinwheel Cookies Recipe plays a special role—creating a tender, flavorful dough that’s easy to handle and looks gorgeous when baked. Be sure to pick quality butter and fresh eggs for best results, and keep your colors gel-based for those intense holiday hues.
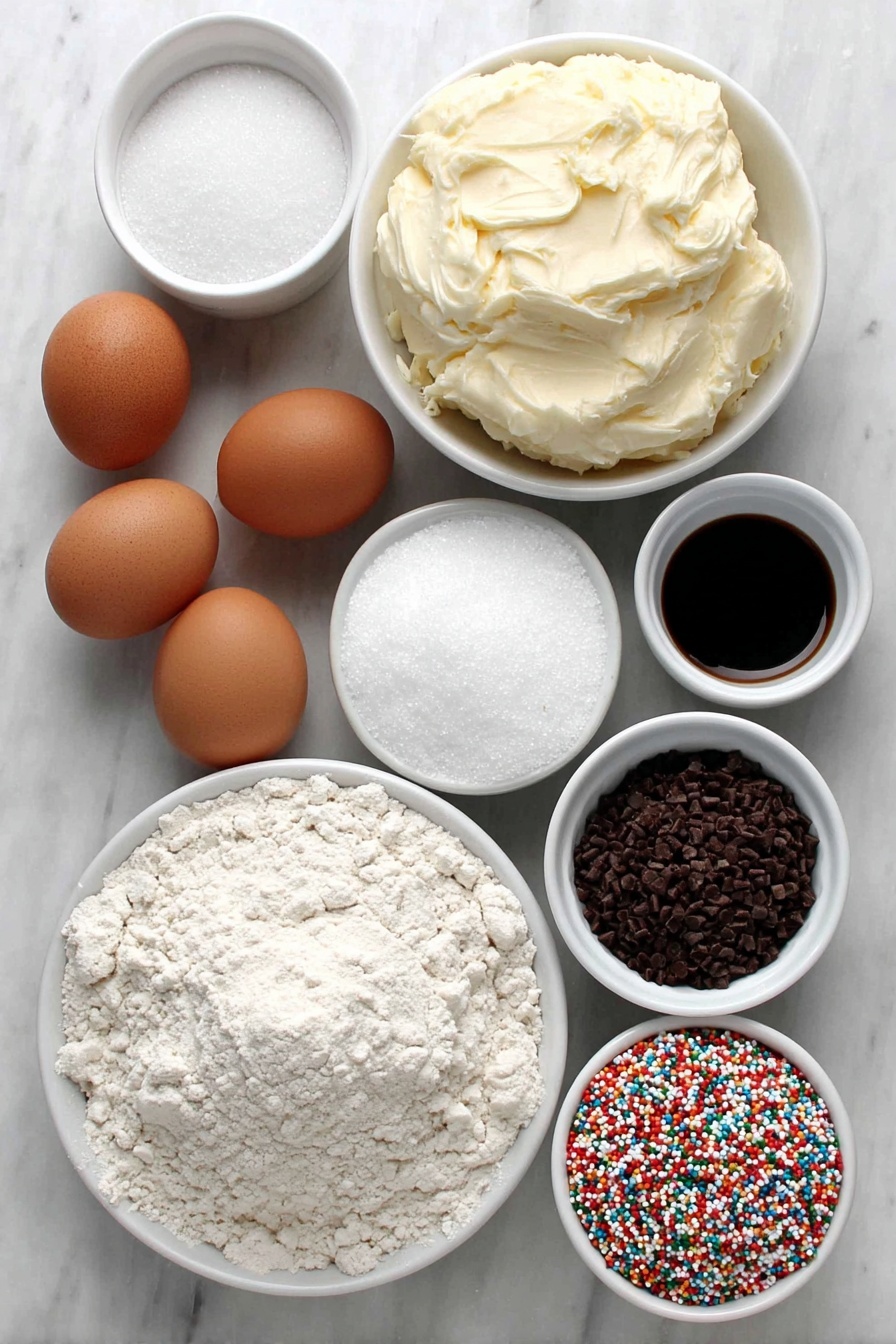
- Salted Butter: Adds richness and moisture; I find salted butter adds a nice balance without needing extra salt.
- Granulated Sugar: Gives structure and subtle sweetness while helping the cookie hold its shape.
- Powdered Sugar: Evens out texture and contributes to that tender crumb we love.
- Eggs: Bind ingredients and add extra protein for chewy softness.
- Vanilla Extract: Provides warm, comforting flavor that complements everything.
- All-Purpose Flour: The backbone of the cookie for structure; spoon it into your measuring cup to avoid extra flour.
- Baking Powder: Helps the cookies rise just enough without puffing up too much.
- Salt: Enhances all the sweet flavors and balances the dough.
- Gel Food Coloring: Gives vibrant red and green swirls without weakening dough like liquid dyes might.
- Holiday Colored Nonpareils: Add festive crunch and color on the cookie edges—totally optional, but I love them!
- Optional Flavoring/Lemon Zest: For a fun twist, I sometimes add almond or peppermint extract instead of lemon zest for extra seasonal flair.
Tweak to Your Taste
I’m all about letting these festive cookies match your mood or occasion. Feel free to tweak the flavors and colors; this recipe is forgiving and fun to customize. I’ve tried a few variations that I’d love to share with you.
- Flavor Swap: Substituting a teaspoon of peppermint extract instead of vanilla really amps up the holiday spirit and pairs beautifully with the bright colors.
- Color Variations: I’ve also played with blue and white for a winter wonderland theme—which works just as well if you want to shake things up.
- Gluten-Free Version: I’ve experimented swapping all-purpose flour for a 1:1 gluten-free blend; results are great but handle the dough gently as it’s a bit less sturdy.
Step-by-Step: How I Make Festive Pinwheel Cookies Recipe
Step 1: Cream the Butter and Sugars Until Fluffy
Start by beating the softened salted butter with the granulated and powdered sugar. I usually do this on medium speed for about 3-5 minutes until the mixture looks light and fluffy—this step is what gives the cookies their tender texture, so don’t rush it! Make sure your butter is truly softened; cold butter won’t cream properly, and you’ll end up with dense dough.
Step 2: Incorporate the Eggs, Vanilla, and Any Extras
Add in the eggs one at a time, beating well after each addition. Then pour in the vanilla extract (and your choice of any extra flavorings like lemon zest or almond extract). Scrape down your bowl’s paddles and sides to make sure everything is fully combined—it helps the dough stay consistent.
Step 3: Mix in Dry Ingredients and Divide the Dough
Whisk together the all-purpose flour, baking powder, and salt separately, then add them gradually to your wet mix. Mix until just combined—don’t overwork the dough, or the cookies may turn out tough. Once the dough comes together, divide it into three equal balls—this makes it easier to color and roll later.
Step 4: Color the Dough and Chill
Put one ball back in the mixing bowl and add 5-10 drops of red gel food coloring. Mix until the color is evenly distributed (I usually wear gloves to avoid stained hands!). Repeat this with another ball of dough and green gel food coloring. Leave the last ball untouched—this will be your white dough. Flatten each ball into disc shapes, wrap in plastic, and chill—either in the freezer for 20 minutes or fridge for 1 hour—they need to be firm but not rock solid.
Step 5: Roll Out, Stack, and Form the Pinwheel
Roll out each chilled disc on parchment paper into thin rectangles of about the same size. Stack them carefully—green on bottom, white in the middle, and red on top (or vice versa, whatever you prefer for your swirl). Trim the edges for an even rectangle to make rolling easier. Using the bottom parchment, gently roll the layered dough into a tight log, taking care to avoid cracks by lifting as you roll. Seal the log in plastic wrap and chill again for at least 1-2 hours until firm.
Step 6: Coat, Slice, and Bake
Once chilled, unwrap the dough log and sprinkle holiday nonpareils on a baking tray. Roll the dough log in the sprinkles, pressing gently so they stick—this crunchy, colorful edge is my favorite part. Don’t be shy about pressing them in well! Then slice the log into 1/4-inch thick rounds and place them spaced an inch or two apart on a parchment-lined baking sheet. Bake in a preheated 350°F oven for 10-12 minutes until the cookies are set but not browned. Let cool completely on a wire rack before enjoying.
Pro Tips for Making Festive Pinwheel Cookies Recipe
- Room Temperature Butter: Always soften your butter fully for smooth creaming, or your dough might be lumpy.
- Chilling is Key: Don’t skip chilling the dough layers; it prevents colors from blending and makes rolling easier.
- Sharp Knife for Slicing: Use a very sharp knife and wipe it between cuts to keep cookies neat and prevent squishing.
- Press Firmly for Nonpareils: Press sprinkles on gently but firmly to ensure they stick and don’t fall off while baking.
How to Serve Festive Pinwheel Cookies Recipe
Garnishes
I usually keep it simple since the cookies are already bursting with color and sparkle. Sometimes, I dust them lightly with powdered sugar for a snowy effect, especially if serving at a holiday party. A few fresh cranberries or rosemary sprigs alongside the plate add a fresh, festive touch without overpowering the cookie’s charm.
Side Dishes
Pair these with a warm holiday beverage—think hot cocoa, mulled cider, or even a spiced latte. I’ve found the buttery sweetness of the cookies balances beautifully with anything a bit bold and warm to drink. They also go great with a small cheese board featuring mild cheeses and fruit for a festive dessert spread.
Creative Ways to Present
For gifting, I like to stack them in clear cookie tins or wrap in cellophane tied with twine and a sprig of evergreen. At parties, I’ve made cookie wreaths by arranging the pinwheels in a circle on a platter, interspersed with fresh holly leaves and cranberries. It’s a guaranteed centerpiece that also doubles as a delicious snack!
Make Ahead and Storage
Storing Leftovers
I store leftover baked pinwheel cookies in an airtight container at room temperature for up to a week. They stay surprisingly fresh thanks to the butter, but if you want to keep them extra crisp, add a piece of parchment paper between layers to avoid sticking.
Freezing
The dough log freezes beautifully! Wrap it tightly in plastic wrap and place in a freezer-safe bag; it will keep up to 3 months. When you want fresh cookies, just thaw in the fridge overnight, roll in nonpareils and bake as usual. I love this because it spreads out the holiday baking stress.
Reheating
If your cookies soften over time, a quick 3-5 minute blast in a 300°F oven freshens them right up—crispy edges with a soft, buttery center, just like fresh from the oven. Avoid microwaving, or they may turn too soft and chewy.
FAQs
-
Can I use liquid food coloring instead of gel in this Festive Pinwheel Cookies Recipe?
You could use liquid food coloring, but I strongly recommend gel for pinwheel cookies. Gel colors are more concentrated and won’t thin out your dough, which helps keep the structure perfect and colors vibrant without risking a sticky or soft dough.
-
How do I prevent the pinwheel dough from cracking when rolling?
Chill your dough layers well before rolling, then roll gently using the parchment paper to lift and guide the log. Rolling too fast or without enough chilling can cause cracks, so patience here really pays off!
- Can I make these cookies dairy-free or vegan?
Yes, by substituting dairy butter with a quality vegan butter and choosing egg replacers like flax eggs, you can make these cookies vegan. Keep in mind that texture might shift slightly, so I recommend testing a small batch first.
- Is it okay to freeze the baked cookies?
Absolutely! Once cool, wrap baked cookies in airtight containers or freeze in zip-top bags. They’ll stay fresh for up to 2 months and can be thawed at room temperature. Just don’t add the nonpareil coating after baking if you plan to freeze.
- What’s the best way to slice the dough log without squishing it?
Use a very sharp knife and a gentle sawing motion. Wiping the blade clean between cuts makes slicing easier and prevents dough from sticking, keeping your pinwheels perfectly defined.
Final Thoughts
Honestly, this Festive Pinwheel Cookies Recipe has become one of my holiday staples because it’s as fun to make as it is to eat. Every year, family and friends look forward to those colorful swirls and sweet surprises in every bite. I hope you give it a try and enjoy the process—and the cookies—as much as I do. Trust me, once you nail these, you’ll have a new go-to recipe that spreads joy with every batch.
Print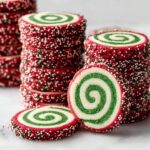
Festive Pinwheel Cookies Recipe
- Prep Time: 15 minutes
- Cook Time: 12 minutes
- Total Time: 2 hours 27 minutes
- Yield: 24 cookies
- Category: Dessert
- Method: Baking
- Cuisine: American
- Diet: Vegetarian
Description
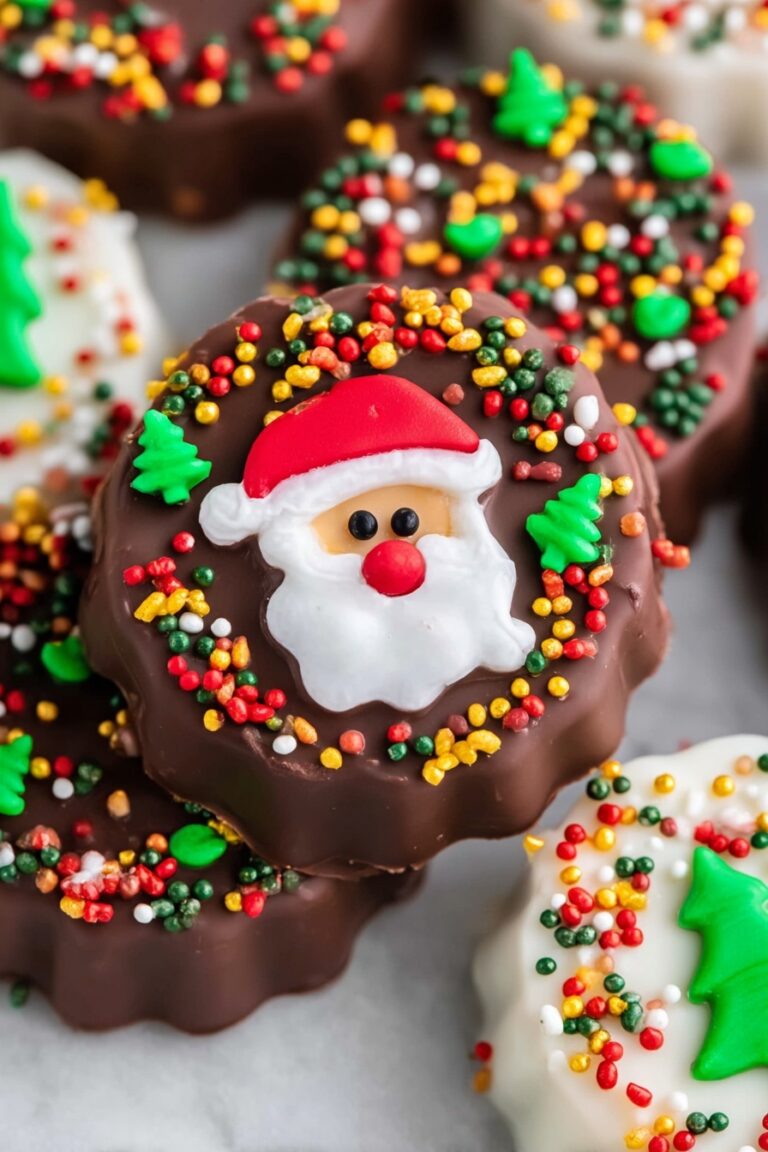
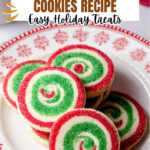
These Christmas Pinwheel Cookies feature festive red and green swirled dough rolled with holiday-colored nonpareils for a fun and delicious treat perfect for the holiday season. Soft, buttery, and lightly sweetened, they offer a delightful crunch from the sprinkles and are sure to brighten any holiday cookie platter.
Ingredients
Dough
- 3/4 cup salted butter softened to room temperature
- 3/4 cup (150g) granulated sugar
- 3/4 cup (150g) powdered sugar
- 2 large eggs
- 2 teaspoons vanilla extract
- 2 1/2 cups (353g) all-purpose flour
- 1/2 teaspoon baking powder
- 1/2 teaspoon salt
- Optional: 1/2-1 teaspoon of additional flavoring extracts or lemon zest
Coloring and Decoration
- Red gel food coloring (5-10 drops)
- Green gel food coloring (5-10 drops)
- Holiday colored nonpareils
Instructions
- Make butter and sugar mixture: Combine butter, granulated sugar, and powdered sugar in a mixer and beat well until light and fluffy.
- Add eggs and flavorings: Add in the eggs, vanilla extract, and any additional flavoring extracts or lemon zest if desired, scraping the bottom and sides of the bowl to incorporate evenly.
- Mix dry ingredients: Mix in the all-purpose flour, baking powder, and salt until combined to form the dough. Divide the dough evenly into three balls.
- Add color to dough portions: Return one third of the dough to the mixing bowl and add 5-10 drops of red gel food coloring, mixing well until the dough is evenly colored. Repeat with another third of the dough and green gel food coloring, leaving the remaining third uncolored.
- Chill dough discs: Flatten each ball of dough into a disc, wrap in plastic wrap, and chill in the freezer for 20 minutes or in the fridge for 1 hour.
- Roll dough into rectangles: Roll out each chilled dough disc on parchment paper into rectangles of roughly the same size and shape. Stack the layers with white dough in the middle and colored dough (red and green) on top and bottom. Trim the long edges evenly.
- Roll into log: Carefully roll the stacked dough into a tight log with the help of parchment paper to avoid cracks. Wrap the log in plastic wrap and chill in the fridge for at least 1 to 2 hours.
- Coat with nonpareils: Remove the chilled dough log and roll it on holiday colored nonpareils on a baking sheet, pressing gently to adhere sprinkles evenly around the log.
- Slice and prepare for baking: When ready, preheat the oven to 350°F and line a baking sheet with parchment paper. Unwrap the dough log, trim off uneven ends, then slice into 1/4-inch thick cookies. Place slices 1-2 inches apart on the baking sheet.
- Bake the cookies: Bake for 12 minutes until set but not browned. Remove from oven and cool completely on a wire rack before serving or storing.
Notes
- For more flavor complexity, add extracts such as almond, lemon, or peppermint along with vanilla.
- Chilling the dough discs and rolled log properly is essential to maintain clean pinwheel shapes and minimize spreading during baking.
- If you prefer less sugar, reduce granulated and powdered sugar slightly but note the texture may change.
- Use a sharp knife chilled in the freezer to slice cookies cleanly without squashing the log.
- Cookies can be stored in an airtight container for up to one week or frozen after baking for longer storage.
Nutrition
- Serving Size: 1 cookie
- Calories: 140 kcal
- Sugar: 9 g
- Sodium: 70 mg
- Fat: 7 g
- Saturated Fat: 4 g
- Unsaturated Fat: 2 g
- Trans Fat: 0 g
- Carbohydrates: 18 g
- Fiber: 0.5 g
- Protein: 1.5 g
- Cholesterol: 30 mg
